
- Overview
- Capacity Actions (By Impact)
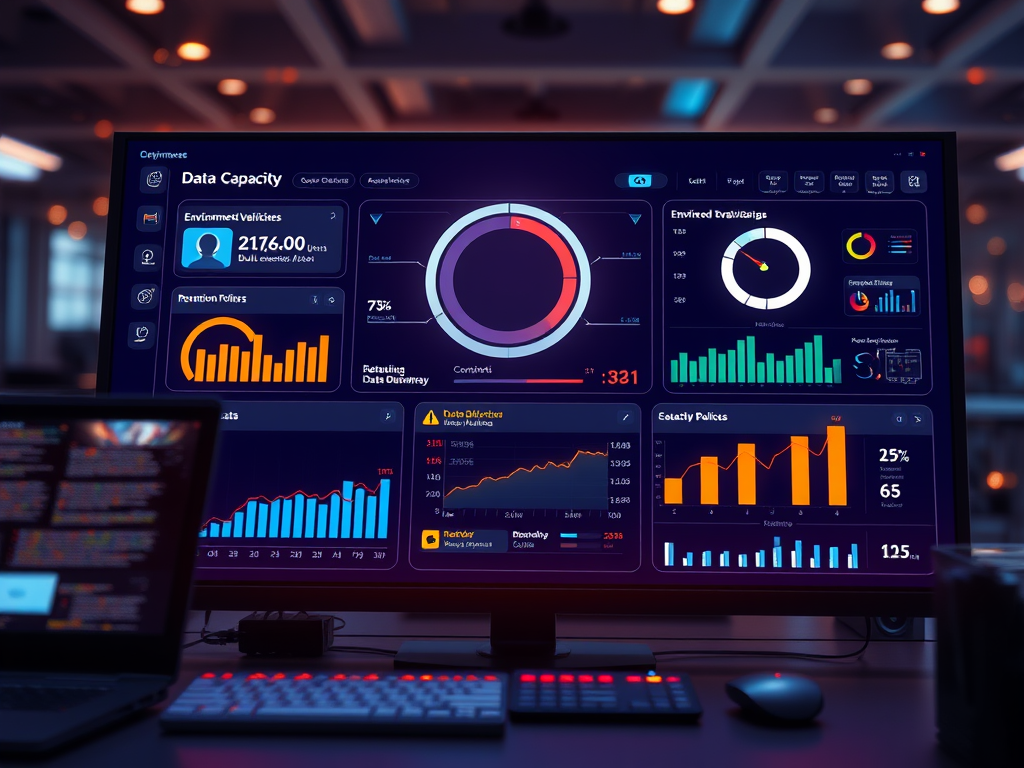
- Power Platform Environment Evaluation
- Run Bulk Record Deletion Jobs
- Review Plugin Trace Logs
- Review Audit Log Policies
- Retention Policies
- Store Files Outside of Dataverse
- Purchase Additional Capacity!
Overview
I’ve recently noticed an under-considered aspect of unlocking the Power Platform at an organization. Whether it be due to licensing purchase ahead of platform use, or because stakeholders are so focused on unlocking the shiniest new feature, it gets left behind. Now, after a few years of success on the platform, one of the administrators will receive a bright red email, alerting them that an immediate action is required! A message fraught with terror and immediate makes one think of how this is likely incurring extra cost for the organization – pure nightmare fuel. That is the issue that this article aims to solve – whether it come from a place of proactive or reactive habits. Reading ahead, I will cover some tools for reducing the capacity consumed on the platform that can be performed on a cadence and setup healthy habits for an organization moving forward. Spoiler alert – purchasing additional capacity should be an absolute last resort.
Below are some easy techniques to quickly decrease capacity and usage in tenant-wide Dataverse instance. Please note, these processes can take at least 24 hours and sometimes up to 72 hours to reflect in the Power Platform Admin Center.
Capacity Actions (By Impact)
Power Platform Environment Evaluation
Firstly, the Power Platform Administration team must evaluate all existing Power Platform Environments. Evaluating their validity, clear purpose and ownership, and role for the organization will decide whether the environment will remain or be deleted from the tenant. This is the first component to evaluate since an environment consumes (by default, at an absolute minimum) 1 GB of capacity on the tenant level, therefore having the largest impact on decreasing the capacity usage. It will be important to have discussion with any environment owners and fellow administrators.
Run Bulk Record Deletion Jobs
Bulk Deletion Jobs refer to removing data that meets certain criteria (or none at all) for a given environment. This experience can be found by navigating to the Advanced Settings hub, and then by navigating through Settings –> Data Management –> Bulk Deletion Jobs. See below.


If the Advanced Settings hub page isn’t loading, please hard refresh.
Once Bulk Record Deletion is selected, the user can create a new Bulk Delete Job or run previously created Buk Record Deletion jobs. Next, the user can orchestrate filtering for records they would like to see deleted. This experience is similar in look and feel to Advanced Find functionality. See below.


Note: Available entities in the given environment can be selected to begin search criteria.

Note: Attribute(s) for Account entity are selected.
Once the data to be deleted has been determined, the final step is to run and execute the job. See below for what that might look like.

Note: Final configurations are available such as Job Name, start time of the job, and any notification correspondence needed.

Note: Final confirmation before submission – the highlighted area above is a good synopsis that covers what is being deleted and when.
Users may monitor their jobs in the Bulk Delete Job interface, taking note of the Status Reason, Deleted, and Failed columns. Once the job is finished, one can select into the job for more specifics.
Review Plugin Trace Logs
When evaluating capacity consumption by table, one might see the PluginAssemblyBase table being referred to, and in some instances displaying a large uptick in volume. These are referring to system plugins that come out of the box from Dynamics. One effective method to free up storage related to this is to remove plugin trace logs that are no longer relevant to the group. Now, the world ‘relevant’ is doing a lot of work in the previous sentence as it will bare different meaning to different people in the organization.
If one navigates to Advanced Settings > Settings > Plugins > Plug-in Trace Log Settings, the following will show, and the user has a few options. A few common options might be to disable plugin logging altogether (until deemed necessary) or just set it to exceptions only. The recommendation would be the latter, but this warrants a conversation between administrators and stakeholders. Another option, like one above, is to run Bulk Delete Jobs on Plugin Trace Logs. See screenshots below.


Review Audit Log Policies
As with Plugin Trace Logs, Audit Logs must be evaluated as this can contribute to an increase in capacity if managed improperly. First, discussing the necessity of auditing for a given entity or set of entities will help make the decision to enable or disable the capability easier. Alternatively, running Bulk Delete Jobs as outlined above. See screenshots below for navigation tips.


Note: All of the above sub-sections around Auditing are useful in exploring – not only for general knowledge but each one will offer way(s) to free up capacity.
Additionally, one must check the Audit settings for each environment. As an example, there could exist an environment set to retain Audit Logs for seven years. This will warrant a conversation between administrators. See screenshots below for the navigation steps.

Note: Power Platform Admin Center landing page (new).

Note: Manage Tab, personal environment selected.

Note: Environment Auditing section, select Manage

Note: Review Audit settings for the selected environment
In situations like these, it might be worth considering bulk delete jobs or retention policies, which will be covered in the next section.
Retention Policies
If there are heaps of data that are identified as historical or dormant, but the team doesn’t feel comfortable wiping out entire tables of data that could need a call back in the future, long term retention policies are an option worth exploring to reduce capacity. This works by first identifying the data one would like to send into a retention state, with a similar look and feel to a Data Loss Prevention Policy – see below for some of the parameters.

Once the policy is run, the collected data will be sent to a retained version of the affected entity, which is then compressed and set into a read-only state. This is how the capacity will be decreased. Keep in mind one will need to enable an entity to be eligible for long term retention.
Resource: https://learn.microsoft.com/en-us/power-apps/maker/data-platform/data-retention-overview
Store Files outside of Dataverse
In cases where large quantities of files or attachments are being stored in the environment, consider documenting these and doing research on alternatives of storage outside of dataverse. Depending on the necessity for images and attachments, alternatives might include OneDrive, SharePoint, or Azure Blob Storage for storing at a much cheaper rate while also conserving capacity.
Purchase Additional Capacity!
Lastly, when all previous methods have been exercised, administrators and stakeholders alike might consider purchasing additional capacity for the tenant in question as an absolute late resort. It will be important to consider the future use of Microsoft Power Platform and Dataverse for the organization while planning on additional capacity to purchase based on historical trends at the organization. But as mentioned, this should be an absolute last resort. Do not bend the knee! Hold the line! Clean up your mess!